
Doughnuts are a LOT harder to make at home than you think. Or, than Lara Ferroni makes you think. Yeast, proofing, waiting for the dough to rise. You'd be lucky to have one by 3pm if you start at 11am. Okay...maybe that is an exaggeration, because my sis and I are doughnut novices. But that didn't get us down!
We tried two different recipes on two different days. The first time, we tried a baked raised doughnut. This one was a disappointment for various reasons. The second time, we tried the basic raised doughnut. These ones were better, phew.
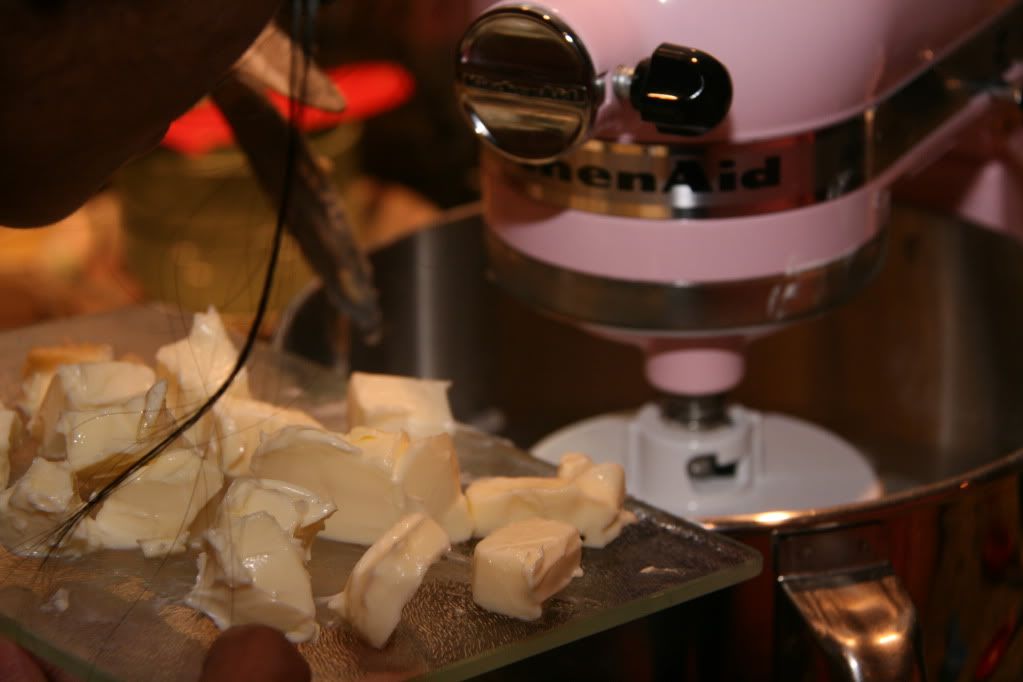
ROOM TEMPERATURE butter for the baked raised recipe
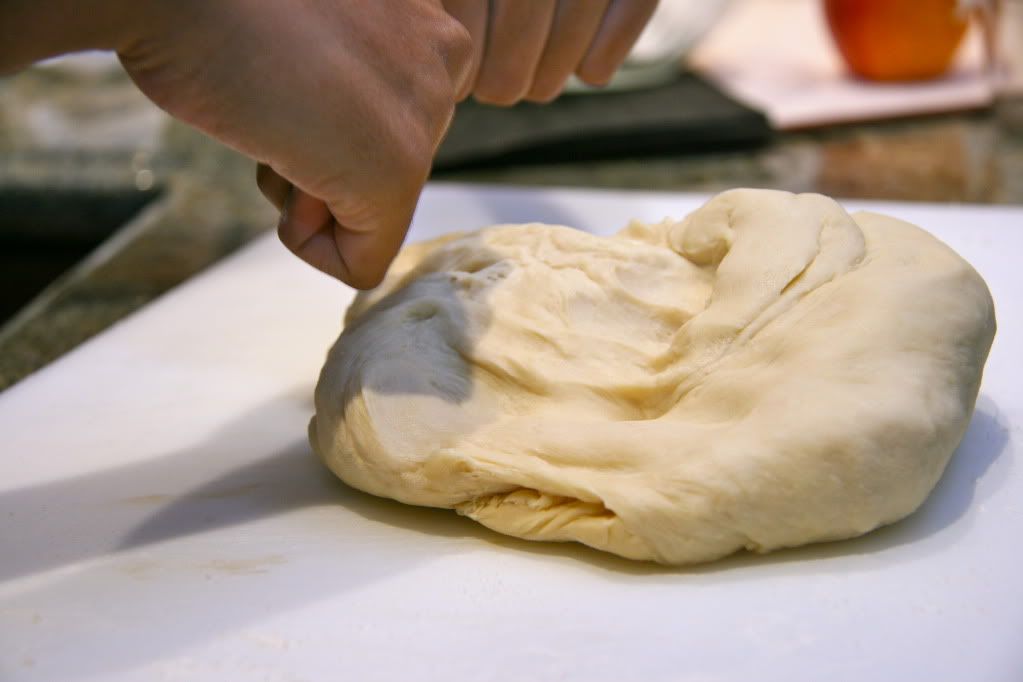
Kneading the baked raised doughnut
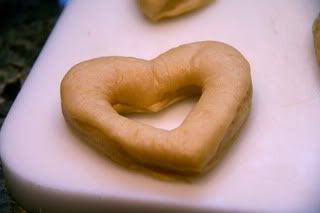
The baked raised dough waiting to rise (of course it is heart shaped. of COURSE. would you expect any less from us?)
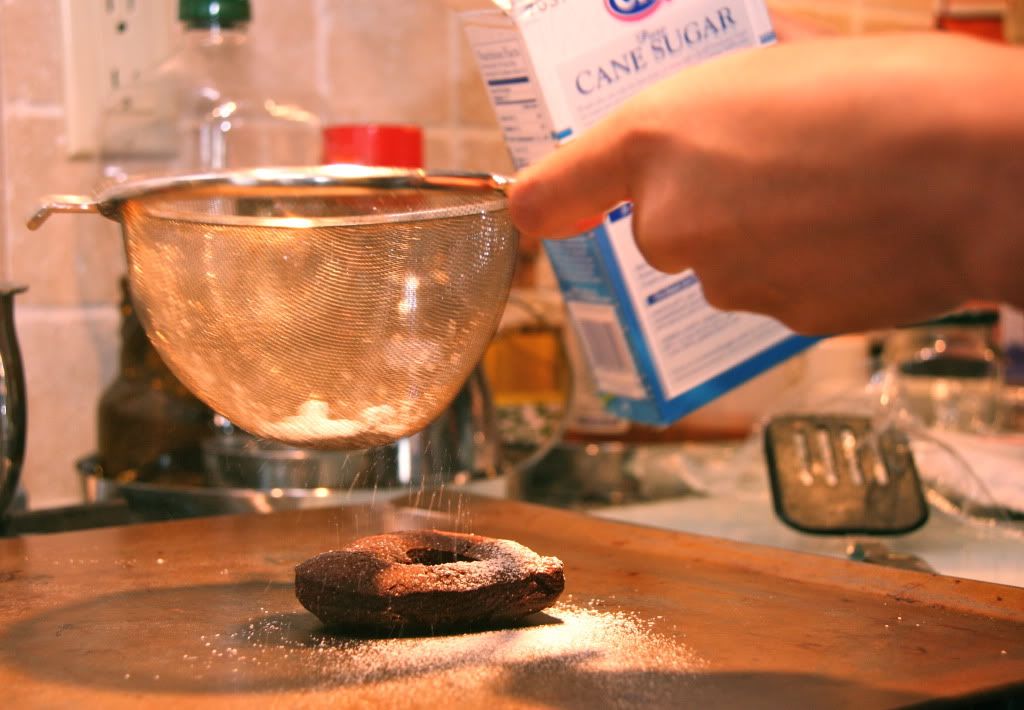
Dusting the basic raised doughnut with powdered sugar
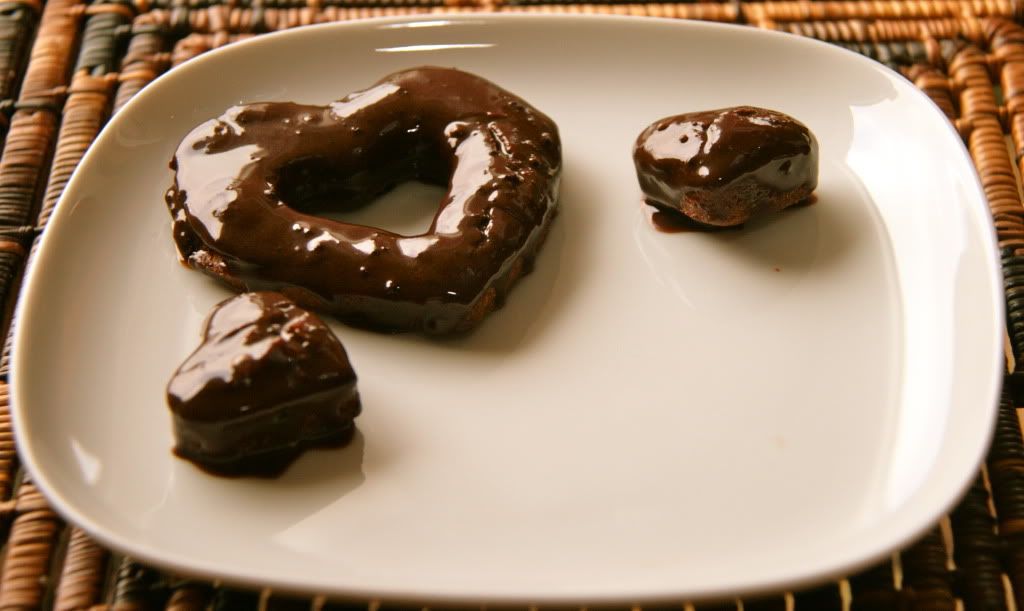
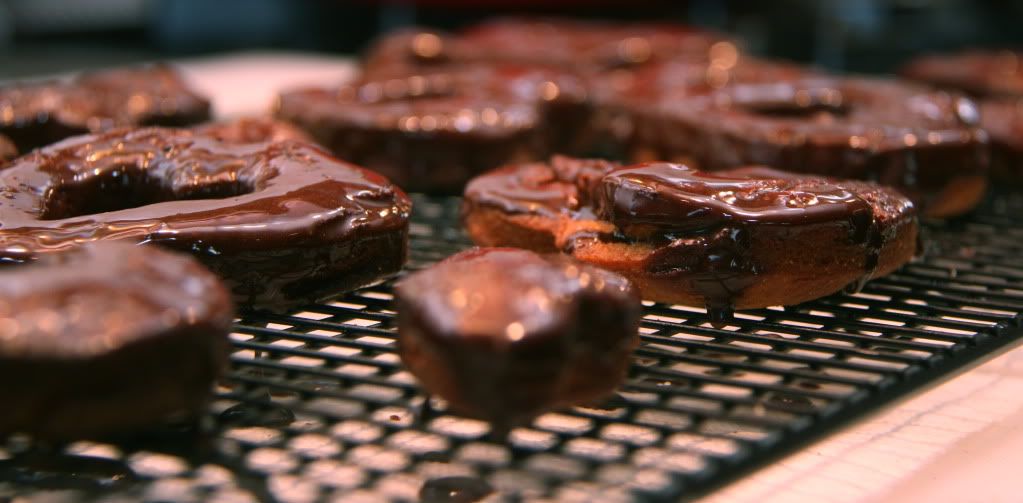
Chocolate Glazed Basic Raised Doughnut...heaven in a heart shape!
These basic raised doughnuts were much better than the first batch we made. The dough was still a little tough, and not krispy kreme melt in your mouth soft. But still 20x better than anything I've had at dunkin, even though they were a bit dense.
Basic Raised Doughnut, recipe borrowed from Lara Ferroni's book Doughnuts: Simple and Delicious Recipes To Make At Home
Don't let the "simple" part of the title fool you. These weren't too simple, even for my master chef sister who does things like telling that my dough is too soft and needs to go into the freezer for 15 minutes or that yeast needs to be outside at a warm temperature to rise (6 weeks ago I wasn't really aware of this). The recipes we selected to make were also time consuming. The bright side is that there are other recipes in the book that do not take as long. I will be trying those next!
When Lara says that everything needs to be at room temperature, SHE MEANS IT. We think our quasi failed attempt at doughnuts the second time around was due to the fact that we used cold eggs (messing up the yeast rising powers, or something). Oops. Also, my sister and I have problems with finicky yeast. However, practice makes perfect so back on that horse I go!
Special Time Constraints: You will need to let the dough rise and proof. The first step takes about 30 minutes, then another hour, and then the proofing takes another 30 minutes. Yeah. Not a quick breakfast meal.
ALL REFRIGERATOR INGREDIENTS NEED TO BE AT ROOM TEMPERATURE!
Ingredients
- 3 tbsp. active dry yeast, divided
- 1 cup milk, divided, at about 110 degrees
- 2 to 2 1/2 cups bread flour, divided
- 2 tbsp. superfine sugar
- 1/2 tsp. salt
- 1 tsp. pure vanilla extract
- 3 egg yolks
- 1/2 stick unsalted butter or vegetable shortening (we used the latter)
- vegetable oil for frying
Special Equipment
- Doughnut hole cutter
- Candy/Deep Fryer thermometer (about $4 at most cooking stores)
In a medium sized bowl, dissolve only 2 tbsp of the yeast in 3/4 cup of the warmed milk. Once dissolved, add 3/4 cup of the bread flour to the mix and stir until it forms a paste. Let this sit in a warm spot for about 30 minutes. My warm spot in my NY apartment will be me heating the oven to 400 degrees, and then the back of the stove gets REALLY warm so then I will put the bowl there.
Combine the remaining milk and yeast in another bowl (or, if you have a stand mixer, put it in there). Add the mixture from above, along with the sugar, salt, vanilla and eggs. Mix until it is smooth. Then, turn off the mixer and add about 1/2 cup of the remaining flour. Mix on low for about 30 minutes. Add your butter (or shortening) and mix for another 30 seconds, or until incorporated. Add the rest of the flour in 1/4 cup increments until the dough pulls away from the bowl and is smooth and not too sticky.
Cover the bowl with plastic wrap and refrigerate for an hour, or up to 12 hours.
Line a baking sheet or two with a non-terry towel, and lightly flour it. Roll out the dough on a lightly floured surface to about 1/2" thick. With a doughnut cutter, cut out the doughnuts. Place the doughnuts on your baking sheet, about 1" apart. Cover with plastic wrap, and now you enter the proofing stage.
Place the doughnuts in a warm spot. At 5 minute intervals (you'll probably end up doing four 5-minute intervals), you want to check the doughnuts: poke them with your finger and see if they spring back. If they spring back quickly, it needs more time. If it springs back slowly, it is ready. If it doesn't spring back at all something got messed up and you will have to punch the dough back, and re-roll it. (boo).
While the doughnuts are proofing, heat a dutch oven or something of the sort with at least 2" of oil. Heat it to about 360 degrees. This is where your candy thermometer comes in.
With a metal spatula, carefully drop the proofed doughnuts into the oil. Fry 1-2 minutes per side, or until golden brown. Remove with a slotted spoon, and then drain on a wire rack that is placed over a paper towel.
Cool before glazing, if you can wait that long!
Chocolate Glaze
Makes enough to glaze the doughnuts we fried above
Ingredients
- 1 1/2 cups confectioner's sugar
- 4 tbsp. cocoa powder
- 2 tbsp milk or water* (we used about 4 tbsp)
- 2 tsp. vanilla* (we used about 3 tsp)
Sift together the sugar and cocoa powder into a medium bowl.
Slowly stir in the milk and vanilla a little bit at a time until you get a smooth, pourable glaze. We definitely needed more milk and vanilla than the original recipe called for to get that pourable glaze to pour.
Ending Notes: These recipes we chose were really time consuming - almost 2 hours with all the waiting! I think the reason the first one didn't come out well was because our baking sheets are old and kind of burned the bottom. The second ones I think we had some issues with room temperature goods (eggs, milk, etc), but they were still tasty. Then again, what isn't tasty if its been fried and coated with chocolate? I am definitely going to make more of her less time-consuming recipes, and probably baked, as frying them in oil is a little scary.
1 comment :
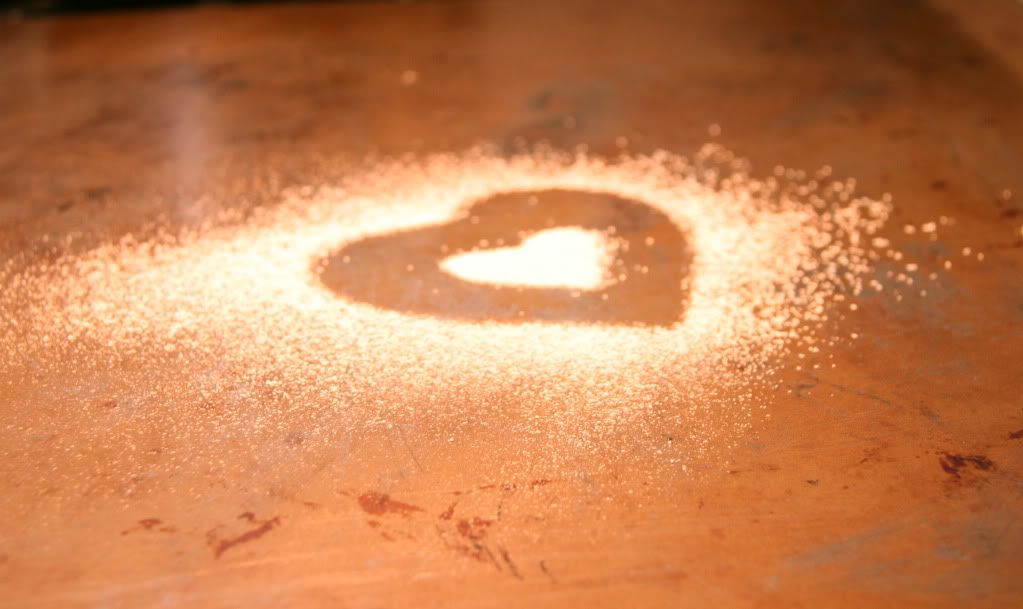
i love that last picture :)
Post a Comment